Today I have another video to share with you that is in a mixed media style. To be honest, I'm not sure about this whole mixed media thing. I used to hate mixed media; I thought it was a bit old and clunky and I didn't like a lot of the darker colors that I often saw and associated with the mixed media style. But honestly now I have explored more blogs, videos and photos. I have seen how you can use brighter colors and how you can make a whole 'canvas' or 'picture' around a quote or an idea and I absolutely love that idea! I'm all about the words and 'feel' of a project. Now I can honestly say that I love the concept, the ideas and all the projects that I've seen.
But I'm not much of an artist, and I feel like some of my ideas won't come to life because of my poor drawing skills. So I'm trying to come to terms with that. I also feel like there is some expense involved, because I want to try different things than I'm doing now. I will say that I have love/hate relationship with using some of the 'mixed media' products. You get messy with paints and gelatos and modeling paste, but then it takes a long time to clean up and let everything dry and I'm definitely not a patient person. But I'm not going to give up. Mixed media projects definitely take a little bit longer, but I'm going to keep at it, just maybe not very frequently.
So without further ado, here is my video for today. I used a mixture of watercolor and chalks and did not end up liking the end result at all! I love the watercolor half of the project and wish I would have just left it alone! Oh well, lesson learned--you don't have to use everything at once. I hope you enjoy the video and thanks so much for watching!
Monday, April 28, 2014
Thursday, April 24, 2014
Cut File Giveaway
Here's a video for you guys that shows me unboxing my new Silhouette Portrait! I am so thrilled with it already and can't wait to use it more! I'm also doing a giveaway, so be sure to enter your name into the Rafflecopter widget below so you can be entered into the contest! I will randomly select a winner and notify them next Friday! The giveaway will be a mix of die cuts that I've cut out on my Portrait, some Project Life style cards, some titles, some labels, etc. Just a random mix of things, but I will include a lot, so be sure to sign up!
a Rafflecopter giveaway
a Rafflecopter giveaway
Wednesday, April 23, 2014
Always Sleeping Layout Process Video
Whew! I have been making tons of videos lately, finally feeling back in the groove and totally inspired! I'm planning to do a post soon that talks about where I get inspiration and how I try to get going when I'm feeling uninspired. But for today, I have a layout video for you. I narrated this one and I hope you enjoy. Let me know what you liked or didn't like in the comment section! Thanks for watching!
Thursday, April 17, 2014
"You're Invited" Card Process Video
Sorry it's been awhile since my post schedule is somewhat 'normal.' I've got a ton of videos in the works and I'm working on narrating more of them, but a nasty cold/flu virus has been going around and I definitely caught the cold part of it! I've still been filming, but unable to narrate. On the plus side, I've been using some of my down time to be learning more about video editing, make layouts, get inspired and think up some projects that I want to do in the future. Thanks so much for watching this video and I hope there will be many more next week!

Also, the giveaway winner has been randomly selected! Thanks to those who entered and congratulations, Pam Dukeshire! I have sent you an e-mail and can't wait to hear from you!
Tuesday, April 15, 2014
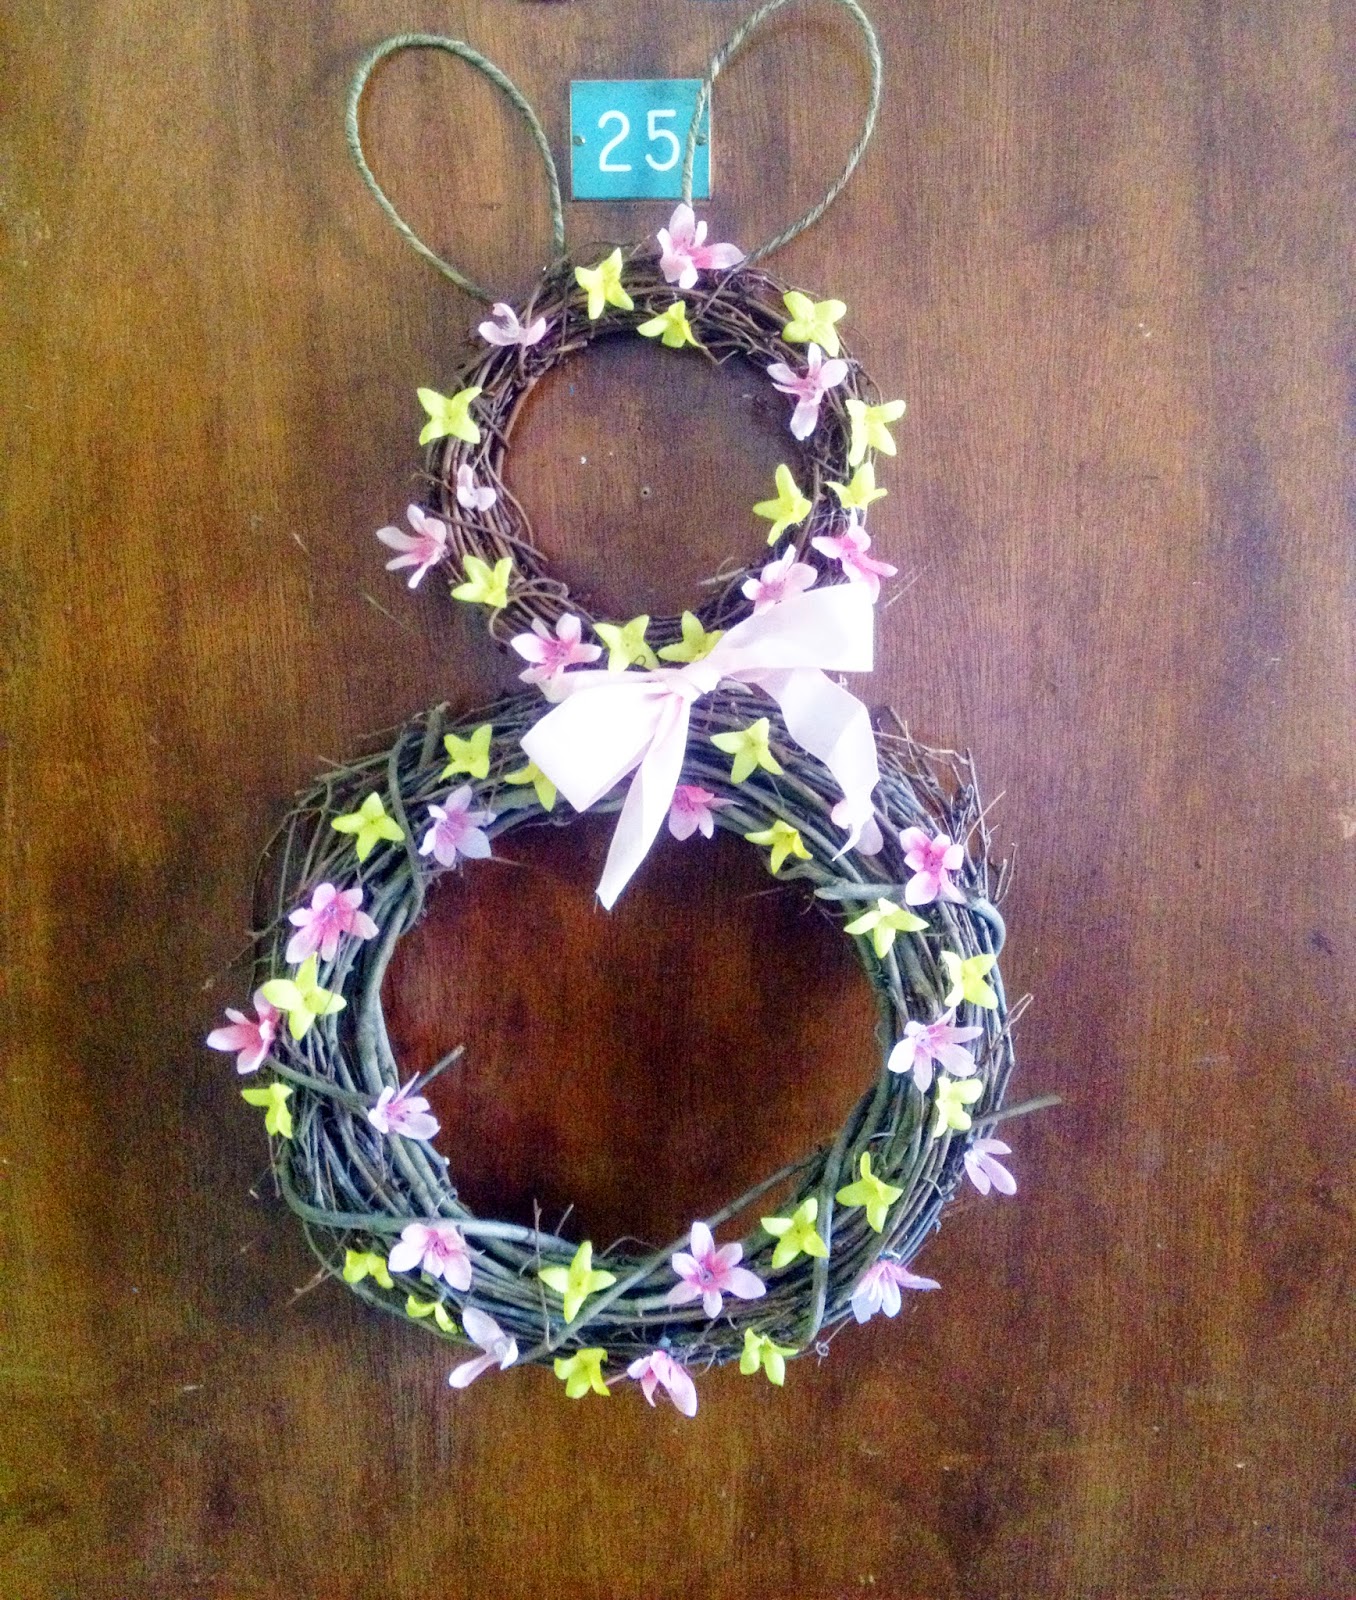
Easter Rabbit Wreath Tutorial
I found an awesome rabbit wreath on Pinterest but there was no way that I could afford the $70+ shipping price tag, so I decided to see if I could do it on my own, for less.
So I went to Hobby Lobby and picked up most of the supplies I needed. The only things not pictured are hot glue and floral wire, which I already had at home from previous projects. But I know the floral wire is about $2-3 at Wal-Mart. I picked up four bunches of flowers, but only used two.


I did have a minor panic attack when I couldn't find my wreaths, but they were ALL the way at the back of the floral area. And they were much cheaper than I thought they would be, even though the colors didn't match perfectly. There was no sale on them the week that I went, but I was able to use a coupon on one. But even full price they were only $2.99 and $4.99--not too shabby.

The whole project ended up clocking in just over twenty dollars and I thought this was pretty good because I had expected to pay about fifty total. I'm not sure exactly what everything cost because I did purchase some extra materials, but ended up returning those. And, as is always the case with Hobby Lobby, there were some sales on various items. So the project could definitely run you a little more or a little less, depending on how the sales/coupons run.
So, I basically started by tying the two wreaths together. I wish I had a picture of this, but it was really easy. I just used some regular floral wire and put it through the small wreath, making sure it went in between the various branches. Then when it came out on the other side, I put it through some of the branches on the larger wreath. I did this twice, just to make sure it was secure and then I twisted it in the back and cut off the wire. Even with just the head and body attached, it was already looking better!
Next up came the flowers! On most fake flowers, the flower can be removed from the long stems. As you can see in this photo, the 'petals' are attached to a little piece of green plastic. This pulls right off of the longer stems of the flowers. So I just pulled one set of yellow flowers off and one set of pink flowers and decided to see if that was enough before I pulled them off the other two bunches. For me, one bunch of each color was enough for my whole rabbit wreath. But if you want more, you could definitely go for that. One thing that I really like about using the fake flowers is that there are so many styles and colors, so you can definitely find the colors that you want for your project. I also like that there are many affordable options. I think these were $1.99 and the pink ones were $2.99 per bunch.

After you pull all the flowers off, it's time to get your hot glue gun heating up. This part is really easy and not even very time consuming. Just put a hot glue in between a couple of the branches on the wreath, so the flower can kind of nestle into the glue between the branches...

And then just place the flower where the glue is, holding it in place for a few seconds until the glue holds. The flowers are so lightweight that the hot glue holds very well.

Just keep gluing flowers in place until you're happy with the arrangement. I alternated colors as I was going so that I never got too many of one color in one place.
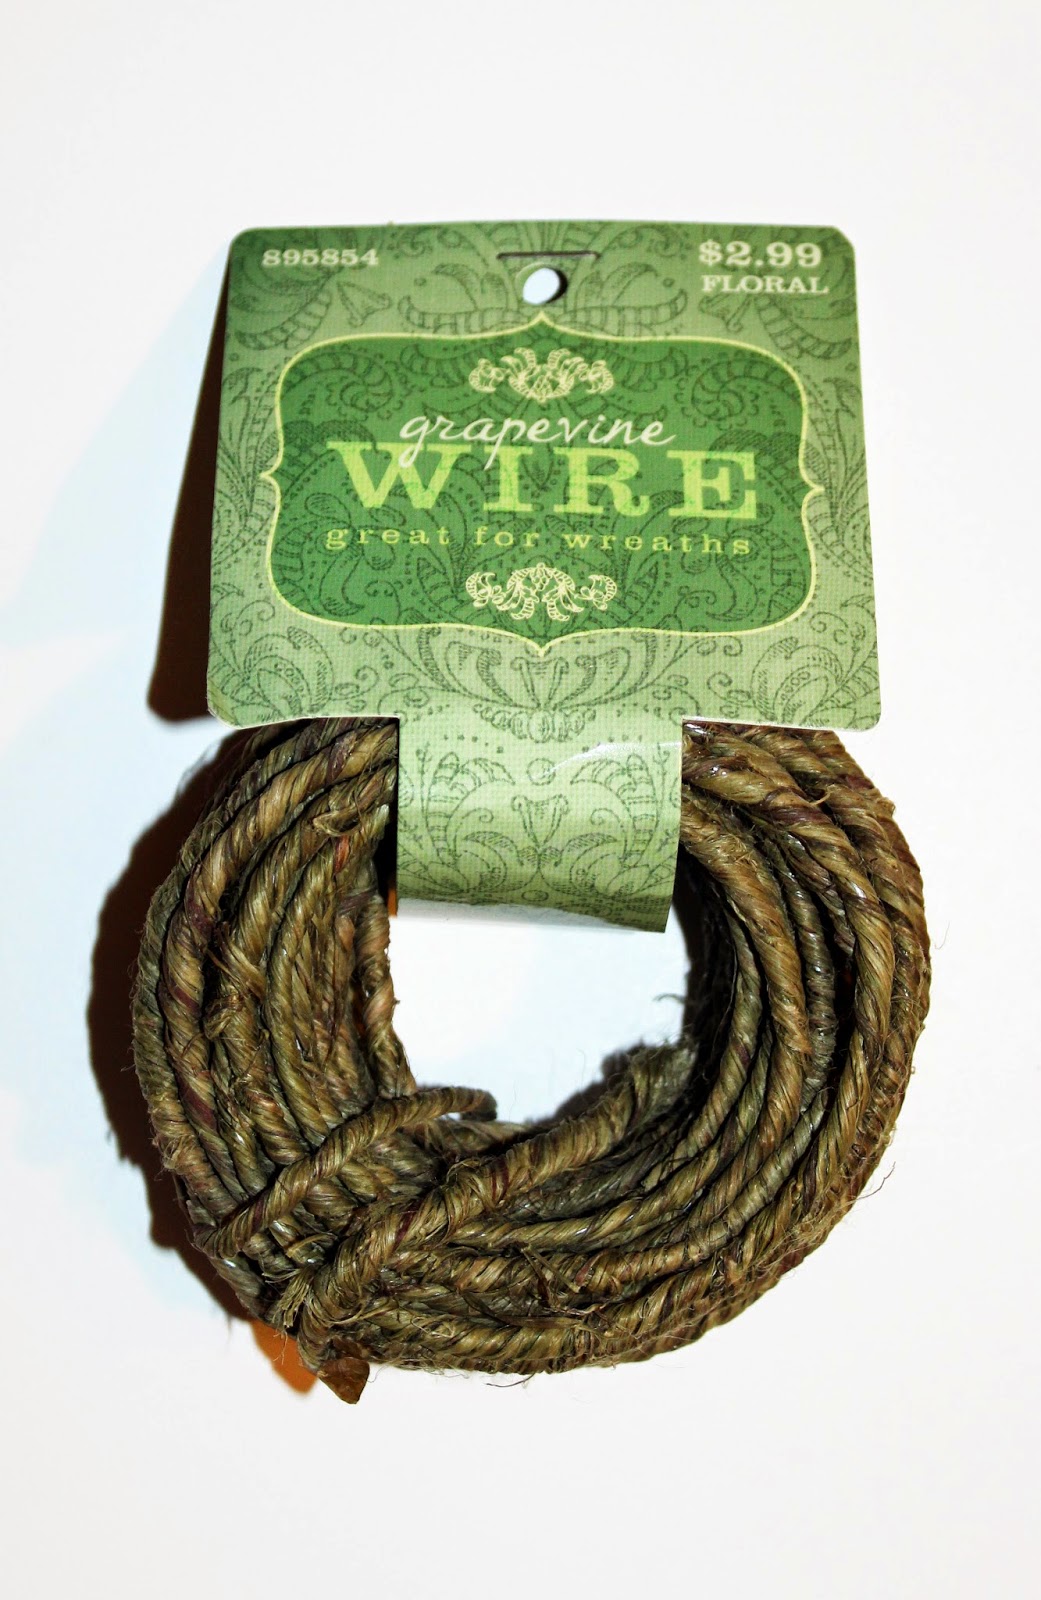
Another step that I didn't get a picture of was making and adhering the ears. It was super simple though. I just cut a piece of the grapevine wire and make it into an oval/ear shape. Then I stuck it between the branches of the wreath and hot glued it in place very well. This was the only step that I was worried about the hot glue not holding. But the wire is pretty sturdy on its own, and if you push it deep into the wreath, it almost wants to hold in place on its own. But I wanted to make sure it was secure, so I hot glued it. And you will definitely have a lot of leftover grapevine wreath but I'm already thinking of a way to use it up!
After that, I just tied a piece of ribbon into a bow around the bunny neck! Originally I had purchased some purple ribbon, but as I was making the wreath, I noticed a piece of pink ribbon that had come in one of my Studio Calico kits. Since it matched the color of one of my flowers, I opted to use that and return the purple ribbon to save some money.
Then I took the finished rabbit wreath and hung it up on my Grandma's door. I was able to just hang it on a nail so I didn't need a hanger of any kind. All in all, it was a pretty simple, cost-effective project coming in around $20 and one hour's worth of work. I think it's one of my favorite holiday decorations yet! Thanks so much for reading and don't forget to sign up for the book giveaway. I'll also be having a die cut giveaway next week, so stay tuned for that! Have a great day and a Happy Easter!
Monday, April 14, 2014
Studio Calico Kraft Bag Video
Hey everyone! I have a super quick video today, sharing how I made my own version of this bag from Studio Calico.

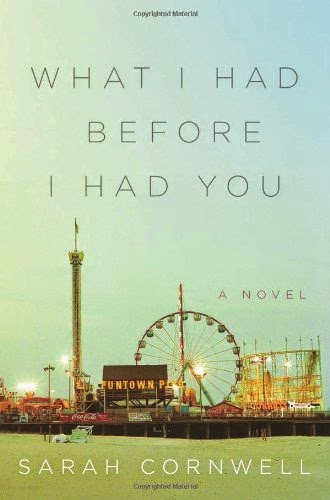
Thanks so much for watching and don't forget to sign up for my giveaway that was posted on April 12th--I'm giving away a copy of the June Noble Paiges' Book Club choice "The Rosie Project." So make sure to sign up for that and I'm also doing a giveaway when I reach 300 subscribers, to be sure to subscribe to my YouTube channel and share the videos so you will have a shot at half of the Just Add Color Project Life kit!
Saturday, April 12, 2014
Noble Paiges' Next Book
I hope everyone enjoyed the book club discussion, even if the book itself wasn't everyone's cup of tea. I think next month's selection is going to be much better and I can't wait to read it and hear what everyone has to say about...

a Rafflecopter giveaway
We will be discussing "The Rosie Project" on Saturday, June 7th. I am very excited to have everyone read "The Rosie Project" and I'm doing a giveaway! I'm trying out a giveaway service and hopefully it will work well. Just leave a comment in the comment section telling me what book you'd like to have the book club read and discuss in the future. Then make sure you enter through the Rafflecopter widget below. The giveaway will close April 16th and I will announce a winner on the 17th! Thanks so much for participating in the first Noble Paiges' book club discussion!
"What I Had Before I Had You" Noble Paiges Book Club Discussion--Last Question
Hey everyone! Here's the last question for "What I Had Before I Had You." And I'll be announcing the next book in just a couple of minutes and I'm hosting a giveaway, so be sure to check it out!
"What I Had Before I Had You" Noble Paiges Book Club Discussion--Question 3
It's hard to believe that this is almost the last question! I look forward to hearing what you have to say!
"What I Had Before I Had You" Noble Paiges Book Club Discussion--Question 2
I'm back with my second question of the day for you guys! Thanks for watching!
"What I Had Before I Had You" Noble Paiges Book Club Discussion
I'll be adding more video questions to the blog and YouTube throughout the day today, and Paige will be updating her blog throughout the day. We have some great discussion questions lined up so be sure to check back and forth throughout the day for more content. Also, if you post anything on Instagram, make sure and use the hashtag #noblepaiges so we can see your pictures!
And don't forget to check back at the end of the day for when we announce next month's book!
Here's the first question!
I'll be commenting throughout the day, but make sure and stop back by in a couple of hours for my second question!
Monday, April 7, 2014
Flowerpot Wreath
I've been busy making some Easter projects for my grandma and her friend. I wanted to make them two different wreaths since they are at the same nursing home. So first up is the flowerpot wreath. Technically, both of these wreaths could be considered Pinterest projects, since that is where I found them. That's where I find a lot of my project ideas. But anyway, here is the post where I found the wreath. They had a lot of cute project ideas but I chose two that I liked, including the first one. I didn't read any of the directions, I just kind of winged it.

One of the reasons I made this wreath was because I found my small flowerpots at DollarTree and they were 3 for a dollar. Which means the whole project came in around twenty dollars. Not too shabby and I could have spent a little less because I had leftover pots. I also could have spent a little bit more if I didn't have craft paint on hand.
I went to town painting the pots different colors. I just used a foam brush. My hand was cramping by the time I was done, but honestly, I just used a really thick coat of paint and just did one coat of the darker colors, plus some touch-ups. The lighter colors took me about three coats.
After letting them dry, I just wired them to my wreath base and then hot glued them, for some extra stability. I found my wreath at at Wal-Mart. Looking back on the project, I wish I would have waited to pick up the wreath at Hobby Lobby, because they had a similar style that was a lot smaller and I think a smaller wreath would have looked better.
Also at Wal-Mart, I purchased some cheap flowers and a piece of foam. It doesn't matter what size the foam is really, because you're going to have to cut it down to fit in the pots. The inspiration photo has pots in all different sizes, but I found mine in just one size, so that's what I worked with. I cut the foam down to size using a knife and I just used the trial and error method until the foam could be pushed down into the pot. I could have hot glued them into the pots, but I knew none of mine would be facing down, because that's how I wanted it to look. Using wire cutters, I trimmed the plastic flower stems down to a short size and stuck them in the foam. Here's a photo of my finished project and I'm sorry that I didn't take any photos during the process. Some day I will get better about those "blogging photos," I promise!
This project was fairly easy, but it was time consuming. And to be honest, by the end of it, I was just ready to quit and be done with it. But I stuck with it and am glad that I did so, because I really like the finished product. I do like the other Easter project that I did a lot better. Stop by later this week to see my other Easter project, it's super cute and about the same price point as this one!
Sunday, April 6, 2014
Pinterest Challenge--Firecracker Chicken Edition
Hey everyone! I hope you're having a great weekend. I can't believe that it's almost over! I found a recipe on Pinterest a few weeks ago for a dish called Firecracker Chicken. It sounded good, I had most of the ingredients and so I printed it out that weekend and was going to make it for my husband and myself, figuring that my parents wouldn't like it. Spoiler alert, I've made it twice and my parents like it so it's on the menu this week for all four of us.
But then once Sunday night rolled around, we were busy and hungry and when I went to get the recipe, I realized that I hadn't read it all the way through. This happens to me all the time! So frustrating, and I never learn. I decided to wing it and make it my way. And while all the credit for this recipe definitely goes to the sauce, I found my way to be much easier and a little bit healthier.
Just as an FYI, I keep all my meat frozen, that way if plans change, I'm not forgetting about meat in the fridge and letting it go to waste. The downside to this is that I have to think about meals ahead of time and defrost the meat (I don't like using the microwave to defrost meat). This night, I hadn't done that, but by happy accident I had a bag of frozen chicken breast strips. These are way easier to cook with even though they are frozen as well.
The directions say to cook them over medium heat for a few minutes on each side. So I put them in a pre-heated pan. My only complaint with this product is that the chicken is all different sizes. But it's really not that big of a deal. While they started cooking, I made the sauce, making it exactly as it is in the recipe. Here's what mine looked like.
Then I poured it all over the chicken. The chicken wasn't fully heated yet, but it doesn't matter, because you want the sauce to really cook into the chicken. I turned the heat up higher and the sauce soaks into the chicken and then it is ready to serve.
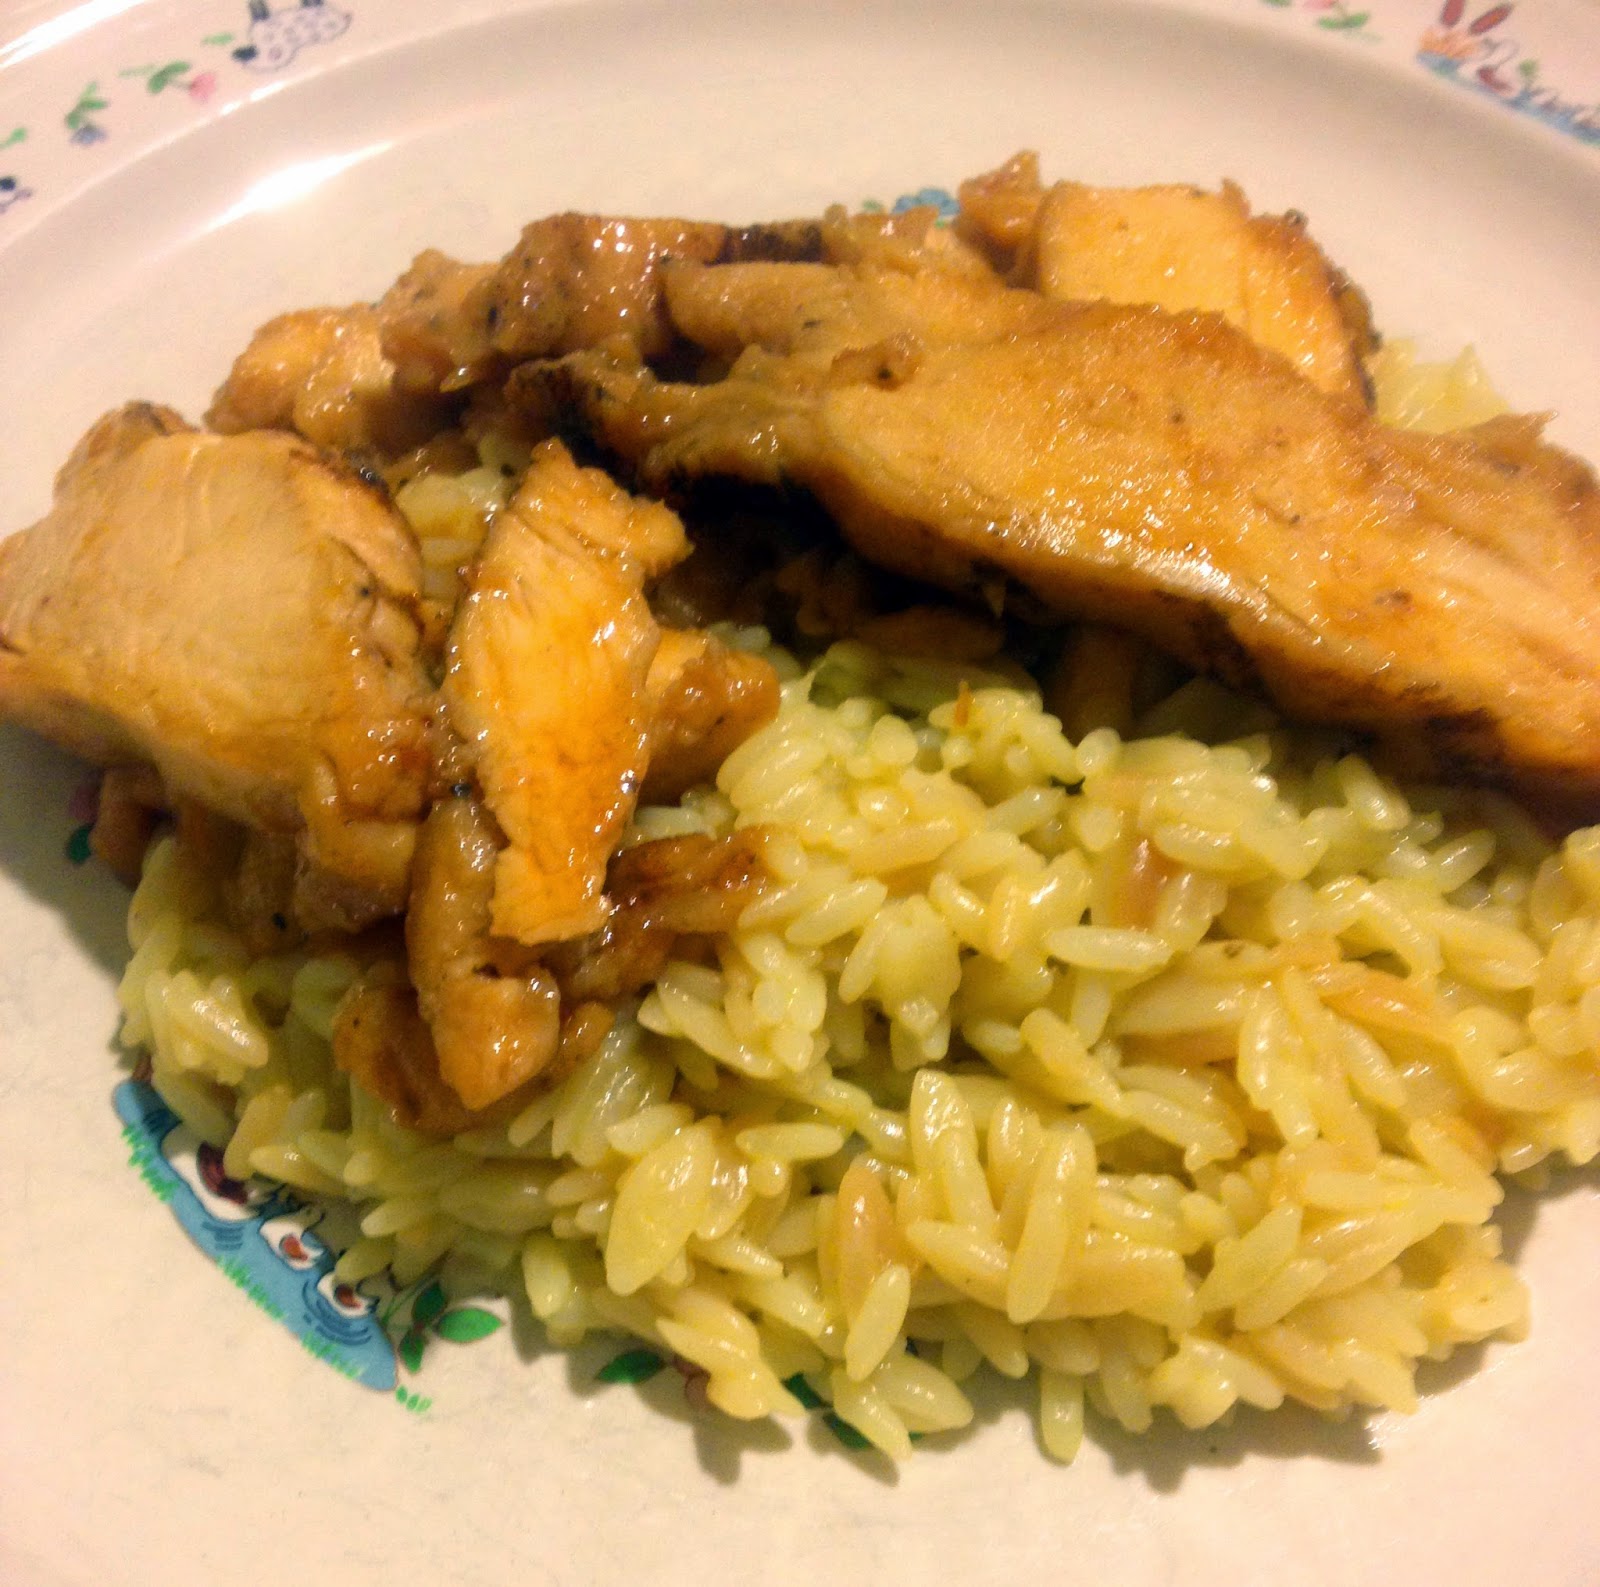
I served mine with rice pilaf that I had been cooking at the same time. By far, the rice took the longest to cook. I use Rice-a-Roni brand. And here is a picture of how it looked on the plate!
I'm definitely no food photographer, and I don't ever intend to be. This recipe definitely received two thumbs up from everyone in my house and I hope it's popular in yours. If you want to find more recipes that I've pinned (or anything else that I've pinned), you can follow me on Pinterest. There's a button to the right of this post that will take you right to my Pinterest!
Thanks for taking a bit of time out of your day to read this and have a great day!
Tuesday, April 1, 2014
Project Life Week 10 Process Video
I hope you're having a great day! I finally finished my Project Life for week 10 and I realized that I definitely need to get caught up and stay that way because I have so many more details if I'm only running one week off instead of three!
Before you get to the video, I have a couple of things to tell you! First off, check the blog later this week for a tutorial for an Easter wreath that I made that came out super cute! Also, I will be announcing the giveaway winner. I'm super behind, but I haven't forgot about it! And don't forget that the first Noble Paiges' Book Club discussion will be held on April 12th, so that still gives you 11 days to finish reading "What I Had Before I Had You." Thanks so much for watching and have a great day!
Before you get to the video, I have a couple of things to tell you! First off, check the blog later this week for a tutorial for an Easter wreath that I made that came out super cute! Also, I will be announcing the giveaway winner. I'm super behind, but I haven't forgot about it! And don't forget that the first Noble Paiges' Book Club discussion will be held on April 12th, so that still gives you 11 days to finish reading "What I Had Before I Had You." Thanks so much for watching and have a great day!
Subscribe to:
Posts (Atom)